


Changing your AC filter is one of the simplest DIY tasks. You don’t always need to call air conditioning services for this.
But most people ignore it until summer arrives and their AC starts struggling. The air feels stale, and cooling takes forever.
The real problem? A dirty filter you could replace in 10 minutes. To avoid this, you need to learn when to change the filter and how to do it correctly. Let’s dive in!
When Should You Change Your AC Filter?
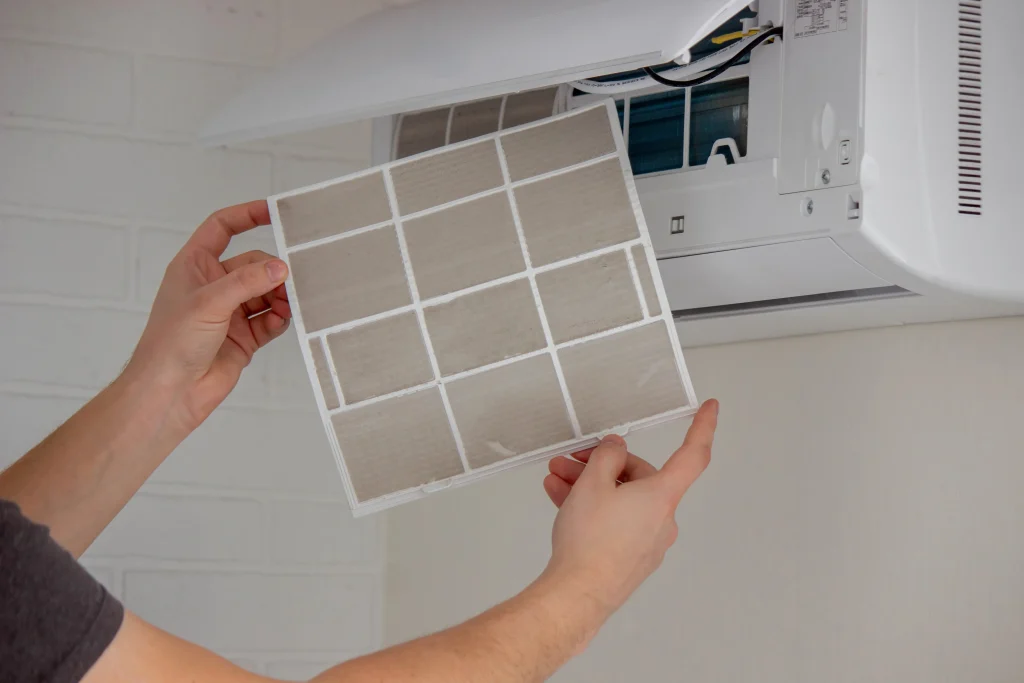
Image by Lazy Bear on Envato
The quick answer is you can replace your AC filter every 30–90 days. But the timing isn’t one-size-fits-all. Your schedule depends on factors unique to your system, local climate, usage patterns, and more.
So, you need to think about this:
- Every 30-60 days — If you run your AC all the time during those hot summer days (35-45°C), have pets that shed, or live where there’s bushfire smoke, you’ll need to change the filter more often.
- Every 90 days — For most Australian homes without pets or allergies, this is the usual schedule. It works fine for usage throughout the year.
- Every 6-12 months — High-efficiency AC filters in ducted systems can last longer, but only if you check them regularly. Don’t just set and forget. Check those filters every few months.
- When needed immediately — After bushfires, during high pollen seasons, or if someone has asthma or allergies, change your AC unit filter. These situations can clog filters faster and affect breathing.
7 Steps to Change Your AC Filter

Image by senivpetro on Freepik
Changing your air conditioner filter is simple once you know how the AC system works. You can follow these steps:
Please note: if your ducted system needs frame replacement, the process is a bit complex and may require extra tools.
1. Turn Off the Power
Safety first. Turn off your air conditioner at the thermostat and set it to Off. Wait a few seconds for it to shut down. That’s all you need to safely change your filter.
If you have a split system, find the main switch. It’s usually near the indoor or outdoor unit and flip it to Off for extra safety. For ducted systems, look for the switch near the air handler and turn that off.
Well, you don’t always have to do this to change the filter as you don’t clean the AC coils, but it adds an extra layer of safety if you want.
2. Locate Your Filter
Your AC filter is usually in one of three places. For split systems, look inside the indoor unit on your wall. The filter slides into a compartment on the front or side panel.
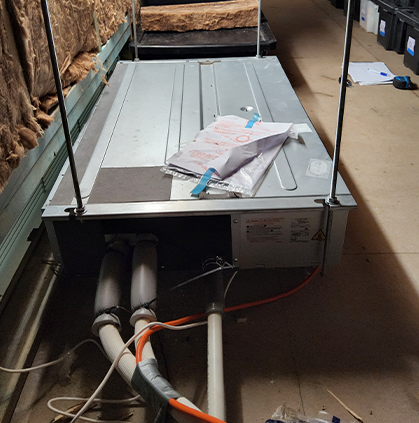
For ducted systems, it’s often in the return air plenum, a large box where air enters before being distributed. This is typically in the ceiling space, under the house, or in a cupboard.
If you can’t find it, check your system manual or look for a rectangular metal or plastic frame with a mesh or pleated material. Write down the filter size marked on the frame: 400x400mm, 450x450mm, or 500x500mm.
3. Remove the Old Filter
Slide or lift the filter out carefully, noting its orientation. Most filters have arrows indicating airflow direction. Some systems use multiple filters, so make sure you find them all.
You can then place it straight into a rubbish bag if it’s heavily soiled. Don’t wash or attempt to clean a disposable filter.
4. Check the Filter Compartment
While the filter is out, take a moment to check inside the compartment. Look for dust buildup, debris, or any visible damage to the frame or seals.
Use a dry cloth or a vacuum with a soft brush attachment to wipe away any accumulated dust around the edges and surfaces where the old filter sat.
If you see cracks or broken seals, inform your technician the next time you have it serviced. Make sure the compartment is clean and dry before installing the new filter.
5. Install the New Filter
Put the new filter so the airflow arrow points toward the air handler (the unit, not the room).
For split systems, arrows should point inward toward the indoor unit. For ducted systems, arrows usually point toward the ceiling or return duct. Slide the filter in, making sure it sits flat and secure.
6. Close Up and Power On
Put back any panels or grilles you took off, making sure everything clicks in securely. Turn the power back on at the mains and restart your AC as usual.
Wait 30 seconds for the system to restart, then listen for the compressor to turn on. You should hear it humming normally. Your AC is now working with a new filter.
7. Clean Reusable Filters (Bonus)
If you have a reusable mesh or foam filter, wash it instead of replacing it. Turn off the AC, take out the filter, and rinse it with lukewarm water. If it’s really dirty, use a little mild soap and gently scrub it.
Rinse until the water is clear, then let it air dry in a shaded, well-ventilated place for at least 2 hours. Don’t use a hair dryer or towel to dry it. Once it’s completely dry, put it back in.
8 Tips to Maintain Your AC Filter
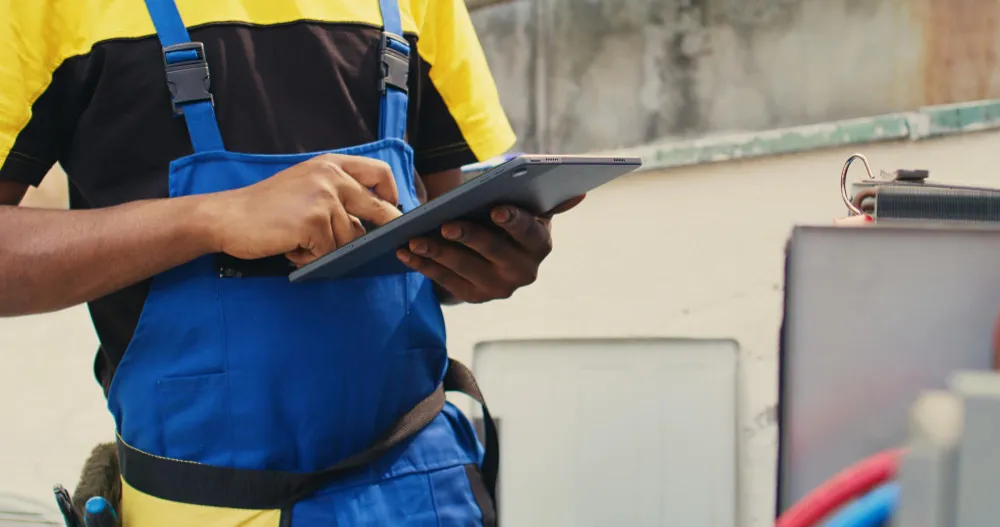
Image by DC Studio on Freepik
Regular maintenance extends your filter’s life and keeps your system running efficiently. These practices help maximise your investment and maintain healthy indoor air quality.
1. Perform Monthly Visual Inspections
Check your filter once a month, or every 15 days during peak use. Look for darkening. If it changes from light brown to dark, it’s time to replace it. Also, check for tears or mould in the AC unit.
For mesh filters, hold them up to the light. If you can’t see through, it’s a sign to check further. In dusty or pollen-heavy areas, check more often.
Don’t forget to look inside the compartment for dust around the edges or any mould.
2. Clean Washable Filters Properly
If you have reusable filters, clean them every 30 days during busy times. First, vacuum with a soft brush to remove loose dust. Wash filters in lukewarm water.
For light dirt, use warm water with mild dish soap and gently wipe. Avoid using pressure hoses. For stubborn grime or bacteria, soak in a mixture of 1 part vinegar to 5 parts water for 30–60 minutes, then rinse well.
After washing, let the filters dry completely. Typically, drying takes 2 to 24 hours.
3. Monitor Your Power Bills
A dirty AC filter makes your AC work harder, increasing energy consumption. So, you need to compare your monthly bills to last year’s. A 15–20% increase suggests a dirty filter.
For a 5 kW system, it can add $20–25 monthly. So, if costs rise without changes in usage or weather, it’s time to clean or replace the filter.
4. Keep Spare Filters on Hand
Keep 3–4 spare filters for your split system. Store them somewhere cool and dry, away from sunlight. Keep them in the original packaging and label each one with its spot so you don’t mix them up.
Before summer hits in November, grab some extras. During peak season, you’ll need to change filters every 4–8 weeks. If you’re in a bushfire zone, keep even more on hand. Smoke and pollen clog filters 30–40% faster.
5. Seal Your Filter Compartment
Unsealed gaps around your filter let unfiltered air bypass, reducing efficiency by up to 30%. So, always check for gaps between the filter frame and housing. Small gaps collect dust, bigger ones let a lot of air through.
Use weatherstripping tape (self-adhesive EPDM or PVC strips available at hardware stores) or painter’s tape to seal it. For the best fix, get it professionally sealed.
6. Track Your Replacement Schedule
Forgot to check your filters? That can cause system problems and missed maintenance windows.
Set phone reminders for 30, 60, or 90 days depending on how often you need to check. Try to match filter checks with your regular monthly tasks, like the first Saturday, payday, or bill day.
You might also look into HVAC maintenance plans that include filter reminders or subscribe to filter delivery services that send replacements automatically.
7. Adjust Cleaning Frequency Seasonally
Australia’s weather affects how fast filters get dirty. In places like Darwin, change them every month to avoid mould. In Brisbane, every 2–3 months is fine because of pollen and mildew.
During bushfire season, check them every month because smoke and ash clog filters faster. If the filter looks darker, it’s time to replace it.
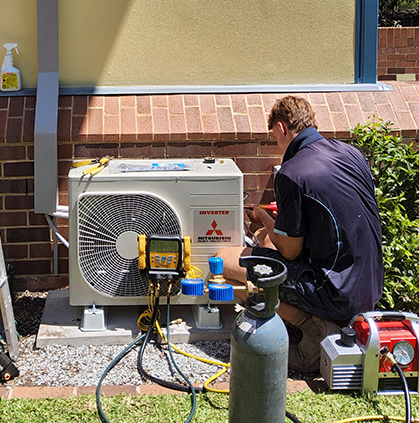
8. Schedule Professional Air Conditioning Services
You need to get your system serviced once a year, or twice if you use a reverse-cycle system. It is recommended to book in October or November before summer to avoid delays.
And don’t forget that a licensed tradie can clean internal coils, check refrigerant pressure, and inspect other AC unit parts. Those are tasks that go beyond DIY filter changes.
FAQ about Changing Ac Unit Filters
Here are the most common questions about changing AC unit filters.
How often should you change your air filter on an AC unit?
You should change AC filters every 30 to 90 days. If you have shedding pets, use the AC system often, or live in an area with bushfire smoke, replace them monthly. Otherwise, every 90 days is sufficient.
What are the signs of a dirty air filter?
Watch for less cooling, weak airflow from the vents, and higher energy bills. You might also notice more dust settling or family members experiencing more allergy symptoms.
A dirty filter appears grey or brown and might be bent or warped from the airflow. In serious cases, a dirty filter can cause your AC not blowing cold air or even freeze up.
Can I change the AC filter myself?
Sure! Changing the filter is a quick DIY job. You can simply turn off the power, then remove and replace the AC filter. If you can’t reach it, such as in a complex ducted system, or see ice on your AC components, you should call a professional.
Conclusion
Whether you change a disposable AC filter or clean a reusable mesh one, it only takes minutes to get great cooling performance and better energy savings.
The truth is, most breakdowns and expensive repairs happen because filter maintenance gets skipped. Luckily, you can usually do it yourself.
But if you see mould, smell a constant musty odour, or your AC still doesn’t cool properly after changing the filter, don’t guess, call us at Lightning Bult so we can figure out the problem and fix it quickly.