





You’re ready to get solar pool heating installation quotes in Sydney, but what should an installer actually check? Pool size is just the start. Roof shade, attachment, pump capacity, and pipe routes shape the job, too.
A good quote lays out those design decisions, including collectors, controls, access, and any specialist work.
We’ll walk you through the process from site visit to commissioning. You’ll learn what to ask about roof suitability and licensing in NSW, and how to compare the scope before you book an installation date.
Quick answer
- Time: A basic home install usually takes a day. Confirm the schedule after a site visit.
- Budget: $3,500–$8,500, depending on roof height, access and system size.
- Roof: Roughly unshaded space equal to 80 to 100 per cent of your pool surface.
- Licensing: Electrical wiring and plumbing connections require licensed professionals in NSW.
How Solar Pool Heating Installation Is Done
These six stages explain what your technician checks and what you should receive, from roof assessment to handover:
Step 1: Site Visit and Roof Assessment
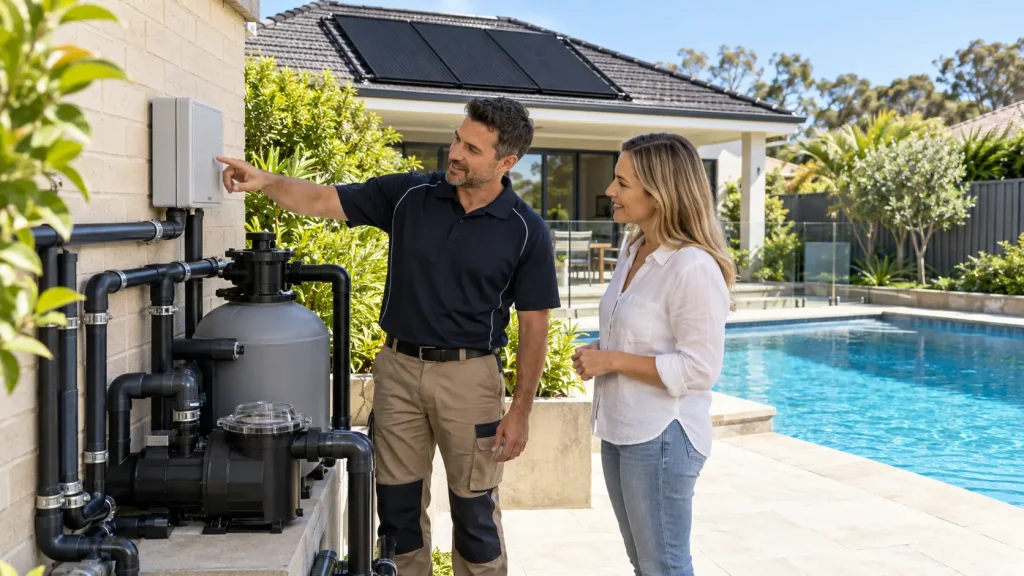
Your technician checks the roof’s direction, shade and structural condition, then maps the most direct pipe route from your pool equipment pad.
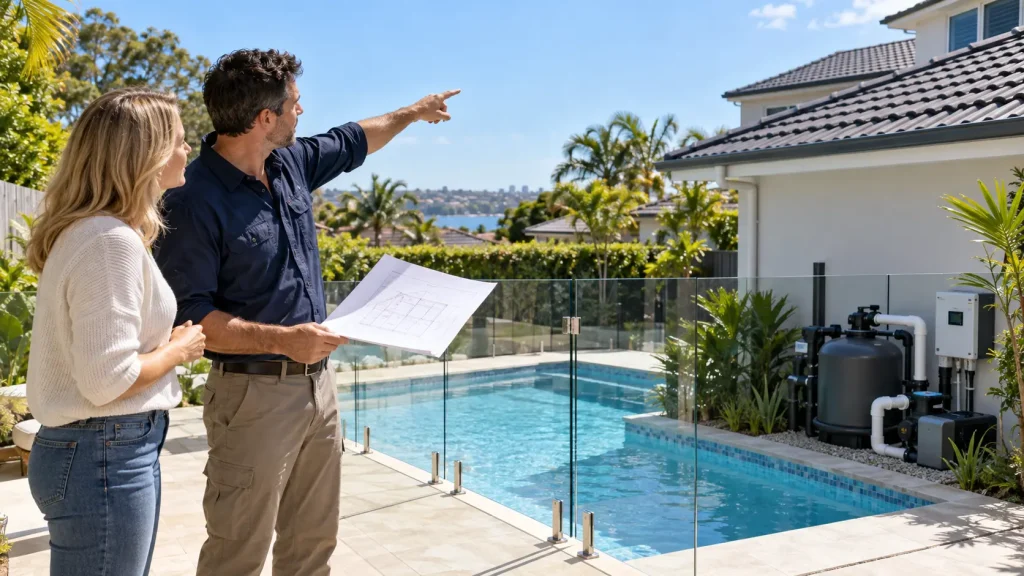
The existing pump and filter get checked too. They need to handle the extra work of pushing water up to a second storey.
Measuring your pool’s surface area helps establish the collector layout. This is the time to ask for an itemised quote that spells out each part of the job:
| Component | What It Covers |
|---|---|
| Collectors & Manifolds | Tubing suited to your roof. |
| Plumbing & Valves | Feed/return pipes and both valves. |
| Controller & Electrical | Sensors, controller and pump. |
| Labour & Access | Roof safety, fitting and testing. |
Knowing the cost of solar pool heating helps you spot a price that cuts corners on critical hardware.
Step 2: Sizing the System
Collector sizing starts with your pool size, roof direction, pitch, shade and the swimming season you want. From there, the technician checks whether the proposed array fits your roof.
Your technician also checks pump capacity and water flow against the roof height, pipework and collector limits.
A larger array extends the swimming season, but the result depends on your site. You can ask what the proposed size will deliver and how it fits the available roof space.
Step 3: Mounting the Collectors and Manifolds
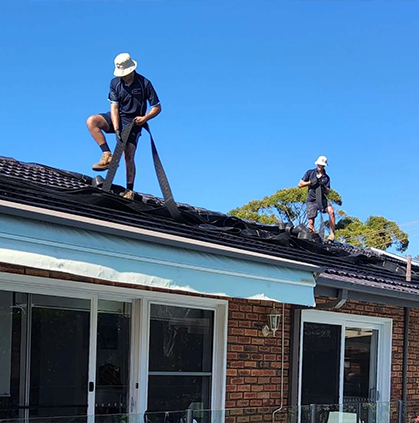
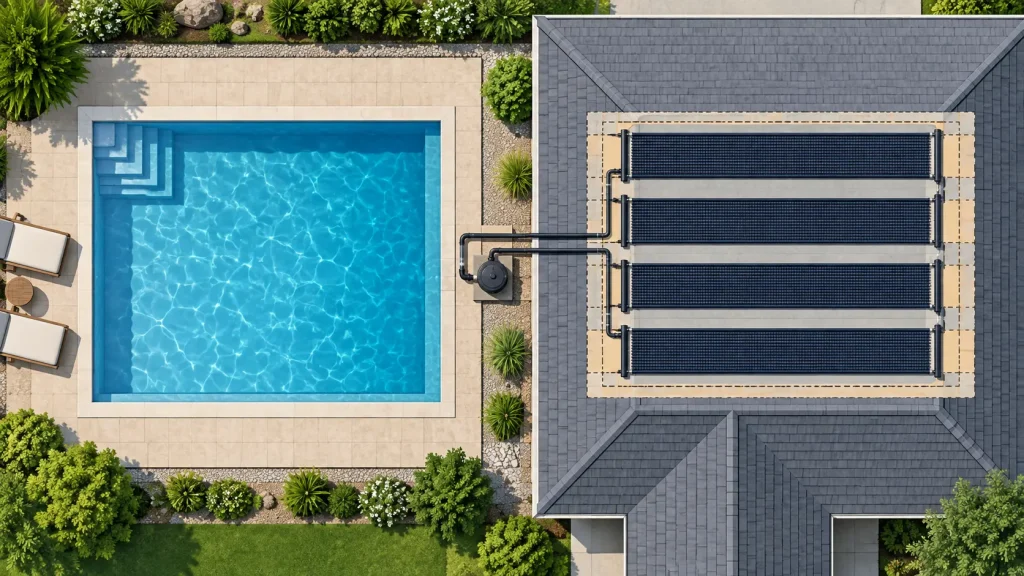
With the layout settled, the team secures the collectors and manifolds using clips, straps or brackets suited to your roof. Top and bottom header pipes connect the array for even flow.
This layout keeps collectors clear of roof valleys so water can drain, debris can move away and the roof can expand and contract with temperature changes.
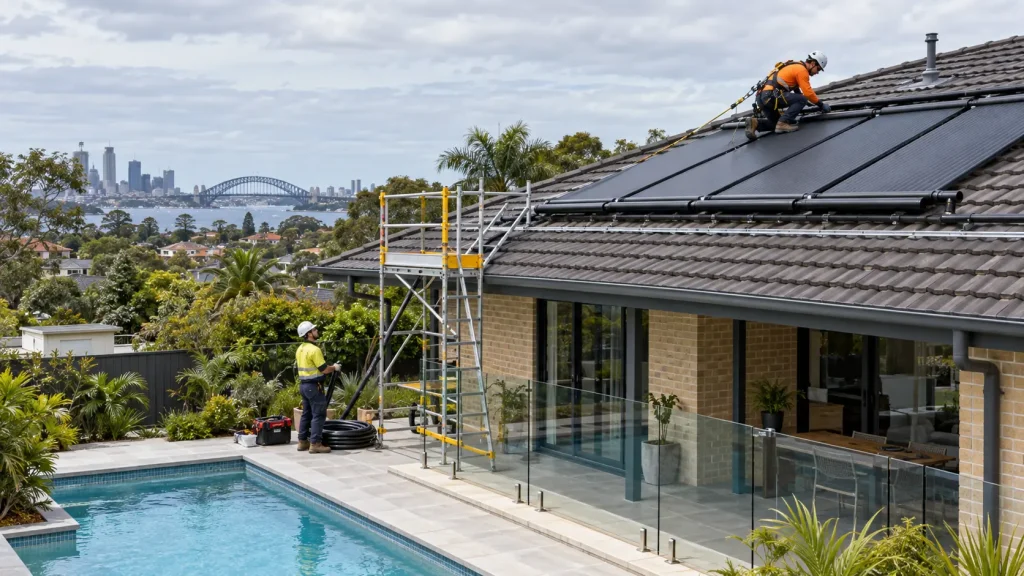
On an exposed coastal Sydney property, ask how the panels will be secured and what warranties cover the fixing hardware.
Make sure to check the team’s relevant working at heights training, public liability insurance, and SafeWork NSW compliance.
Step 4: Plumbing the Roof Loop
Pressure-rated pipes carry water from your pool equipment up to the roof, through the collectors and back again.
The technician connects the loop to your filtration system or a separate solar circuit. Its pipe layout and valves, including a vacuum relief valve, work together to drain the collectors when circulation stops.
Roof height, pipe length and flow limits dictate pump choice. In this stage, you can ask how the pump and pipework suit your setup, how the system drains and where the visible pipes will run.
Step 5: Controller, Sensors and Electrical Work
Next come the controls. Roof and pool sensors connect to a central controller that constantly compares temperatures. It starts the solar pump only when the roof is hot enough to add measurable heat to the water.
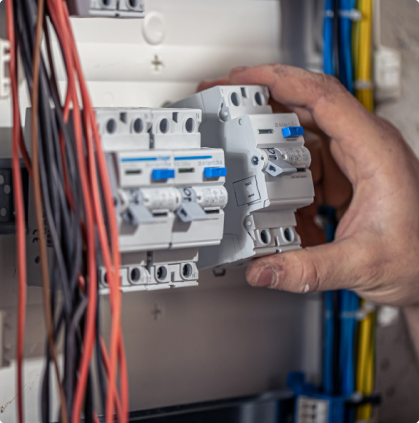
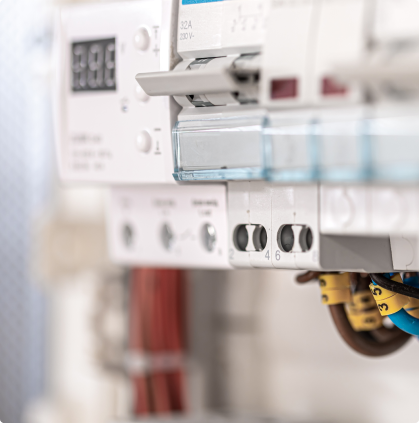
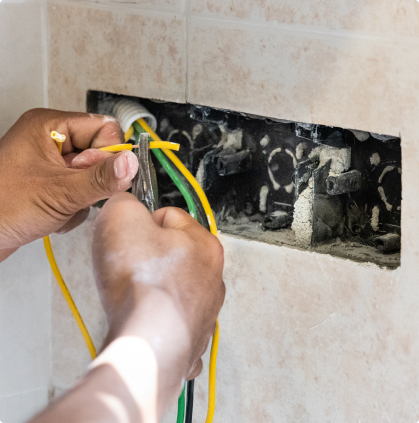
Wiring the pump and controller requires a licensed electrician in NSW. A dedicated circuit is often needed if the new pump takes the total load beyond your existing pool sub-board’s capacity.
Having one team handle the plumbing connections and electrical work prevents disputes between trades.
Step 6: Testing, Bleeding Air and Handover
Once everything’s connected, your technician fills the system, checks each manifold connection for leaks and runs the pump to clear trapped air.
You’ll see a large burst of bubbles returning to the pool at start-up. That’s normal while the lines are being bled and should stop once the system is fully primed.
At handover, the technician will walk you through the controller’s target temperature and automatic mode. If you’re replacing an old system, make sure removal and disposal of the brittle tubing are included in your quote.
Is Your Roof Suitable for Solar Pool Heating?
Your roof makes or breaks a solar heating system. That’s why experts check it first before installing any panels:
Roof Direction and Shade
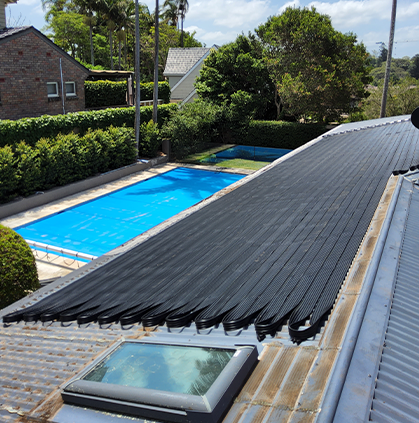
In Sydney, a north-facing roof gets the most sun. East and west sides work too, but they’ll usually need extra collectors. South-facing roofs don’t get much direct sun, so professionals usually avoid them.
Look for roof spots that get about six hours of direct sunlight daily, with no shade from trees, neighbors, or chimneys.
Bad angles or heavy shade can cause a 30% to 50% drop in heat, leaving your pool cold even after you’ve paid for the system.
Roof Type and Condition
Tile, Colorbond, and flat concrete roofs can all hold solar collectors, though the mounting methods change. Ask your technician how they will anchor the panels and seal the roof against heavy rain.
Any leaky, worn, or weak roof spots have to be fixed before installation. Collectors sit right on top of your roof, making future fixes underneath them tough and pricey.
Steep, fragile, or multi-storey roofs drive up installation costs. They need extra safety gear, scaffolding, and harnesses to follow SafeWork NSW rules.
How Much Roof Space You Need
You’ll usually need collector space equal to 50% to 100% of your pool’s surface area. The exact amount depends on your collector type, roof pitch, and how long you want to swim each year.
For a standard 8 × 4 m pool with a 32 m² surface area, you’ll need about 16 to 32 m² of usable, unshaded roof space.
If you’re short on roof space, ask about ground or fence mounting. You can also pair a smaller solar setup with a pool heat pump installation for a hybrid system.
Licences, Safety and Who Should Do the Work
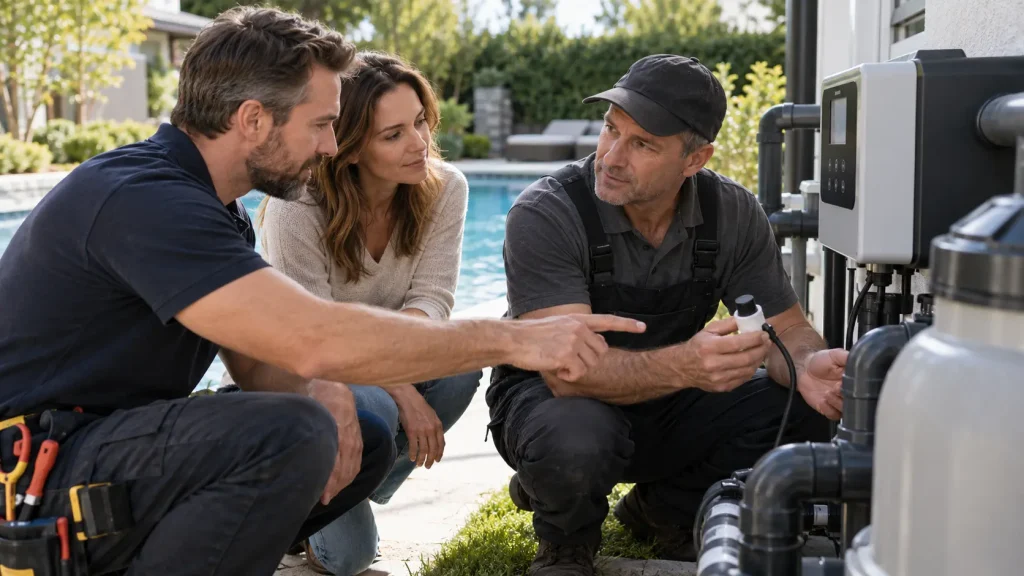
Solar pool heating installation involves plumbing, electrical work, and roof safety, each with distinct rules. Check who handles what before signing.
Which Licensed Trades Are Involved?
In NSW, if you’re doing residential trade work worth over $5,000, you need a contractor licence under the Home Building Act. The NSW Government counts non-hardwired solar thermal pool heating as swimming pool repairs and servicing.
Fixed electrical work is different. You always need a licensed sparky, no matter the cost. That goes for hard-wired pumps, controllers, new powerpoints, and sub-board upgrades.
Your sparky has to lodge a Certificate of Compliance for Electrical Work (CCEW) via the BCNSW eCert portal within 7 days. Just make sure you save your copy with your property records.
You can check any installer’s licence right now using NSW Fair Trading’s online licence check.
Can You Install Solar Pool Heating Yourself?
You’ll find DIY kits everywhere in Australia. Sure, skipping labour costs sounds great, but you’re taking on some big risks:
- Electrical laws: By law, a licensed electrician has to handle fixed wiring and dedicated circuits.
- Roof safety: Climbing around on pitched or multi-storey roofs is dangerous. Pros use proper edge protection or harnesses that meet SafeWork NSW standards.
- Hydraulic risks: Mess up the pipe sizes or valves, and you’ll end up with airlocks, roof leaks, or rotten timber. Plus, doing it yourself could void your warranty.
Questions to Ask Before You Accept a Quote
Ask these core questions before signing a contract to keep your project legal and safe:
- Are you licensed for plumbing and electrical? Can I see your numbers?
- Do you have public liability insurance and SafeWork NSW working-at-heights certification?
- How did you figure out the collector area, and what did you assume about shade and roof direction?
- Will you lodge a digital Certificate of Compliance for Electrical Work (CCEW) for all the wiring?
- How are you sealing roof holes, and what happens if you crack a tile or a Colorbond sheet?
- Does the price cover tearing out and hauling away the old tubing?
If your project costs more than $5,000, get a written contract and never pay more than a 10% deposit upfront.
If you want a professional assessment, Lightning Bult handles both plumbing and electrical work under one roof. Explore our pool heating options or contact our team to book a free site assessment.
What to Expect on Installation Day and After
Here is what happens on the installation day and how to manage the system immediately after the team leaves:
How Long Installation Takes
A typical residential solar pool heating installation takes about a day (usually 4 to 8 hours for a standard home).
Complex or steep roofs, unusually long pipe runs, or switchboard electrical upgrades can extend the job. Your technician will confirm the expected timeframe for your specific site during the initial assessment.
Getting Ready for the Day
Make sure the installation team has clear access to your roof, pool equipment, and the side of your house where the main PVC pipes run.
Plan to turn off your pool pump for a few hours while they hook up the new plumbing. When the lead installer gets there, double-check who’s working on-site and make sure they’ll take away any old equipment.
The First Few Days and Ongoing Care
Expect your cold pool to take a few days to warm up, not just a few hours. How fast it heats depends on the sun, the starting temperature, and your system.
Just use the auto settings demonstrated at handover for daytime heating, and put a pool cover on at night to reduce heat loss.
Don’t forget to get it checked before every summer, and stick to the regular maintenance routine.
If heating stops or you notice leaks or persistent bubbles, our solar pool heating repair guide explains what to check and when to call for help.
Solar Pool Heating Installation FAQs
Can solar pool heating be added to an existing pool?
Yes, if your pump, filter, pipes, and collectors match. Some setups reuse old lines, while others need new routes. Don’t assume a retrofit leaves your yard untouched. Have your installer confirm upfront if you’ll need landscaping work.
Do I need a pool cover with solar pool heating?
It’s recommended. Get a pool cover to reduce heat loss and evaporation when you’re not swimming. It keeps the warmth in, but won’t magically guarantee winter swimming.
Is there a rebate for solar pool heating in NSW?
No. Solar pool collectors don’t qualify for Small-scale Technology Certificates (STCs). Unlike eligible solar hot water systems for taps and showers, they don’t qualify for federal STCs.
Will solar heat my pool in winter?
Not quite. The system’s output drops on cloudy winter days. So solar mostly just stretches your swim season into spring and autumn. For guaranteed winter heat, check our guide on solar pool heating vs heat pump to compare your options.
How long does a solar pool heating system last?
A well-maintained system lasts 15–20 years, but component lifespans vary. Since collectors, pumps, and controllers have different warranties, check each part’s condition instead of just relying on the collector warranty.
Ready for a Solar Pool Heating Installation?
A reliable solar pool heating installation starts with an honest site assessment. Your installer should tell you upfront if your roof lacks the sun exposure, structural strength, or space needed to heat your pool efficiently.
Wondering if your roof suits solar? Lightning Bult‘s licensed team will assess your property, calculate how many collectors you need and handle the whole setup. Request a free quote or explore our pool heating services.