


Ever had your solar pool heater run all day, only for the water to stay freezing? That’s frustrating, especially when you don’t know if it’s a $30 DIY fix or a $500 call-out for solar pool heating repairs.
But ignoring small drips can ruin your entire system. In this guide, you’ll learn the common problems with solar pool heating in Sydney, what you can check yourself today, and when to call a licensed technician.
Is Your Solar Pool Heating Not Working? Start Here
Before we look at the causes, figure out which of these three scenarios fits your situation:
- Your pool is cold even though the system is running — The pump is on and the controller says the solar is active, but the water isn’t warming up. You might also notice weak flow, air bubbles, or gurgling from the jets.
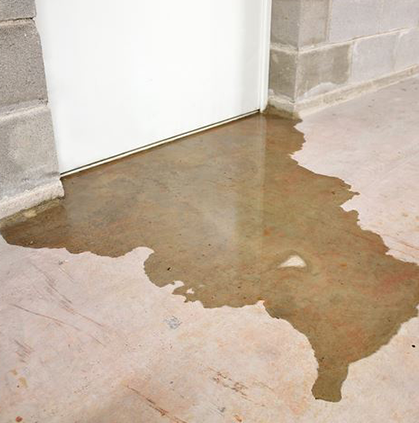
- You see water leaking or dripping — Water is coming from the roof, panels, gutters, fascia, or pipes, or your pool level is dropping faster than normal evaporation.
- The controller isn’t working or won’t turn on — The screen is blank, you see an error code, there’s a sensor fault, or the solar light won’t come on even in full sun.
These three checks won’t catch every problem, but they’re a quick way to narrow things down before you start troubleshooting.
Common Reasons Your Solar Pool Heating Isn’t Working
Here’s why your solar pool heating might be failing and what you can do about each:
1. Panel or Absorber Leaks
Panel leaks are the most common cause of solar pool heating failure, especially in roof-mounted systems.
These rubber or plastic absorber mats are designed for treated pool water. But Sydney’s heat, UV, storms, and coastal conditions can still wear them down over time.
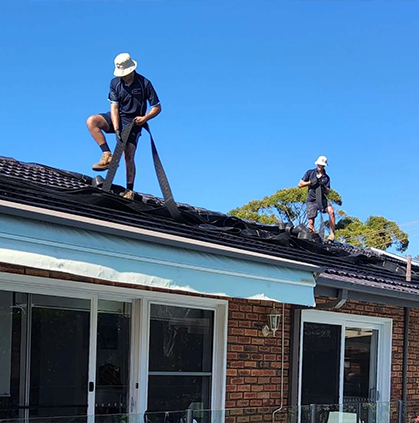
Also, in leafy suburbs, cockatoos may chew through soft solar tubes, causing sudden roof leaks.
You may have a panel or absorber leak if the pool level drops faster than normal, water appears in gutters when it hasn’t rained, or white crust forms near roof edges.
What you can safely check yourself:
- Walk the solar system and check it from ground level.
- Use binoculars from a safe spot to look for sagging, bent, discolored, or damaged solar matting.
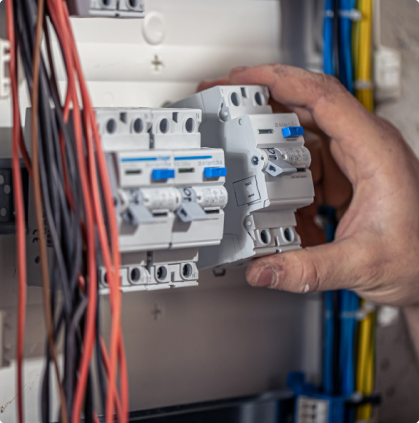
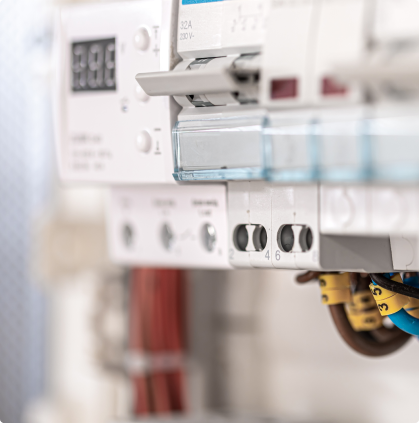
2. Controller and Digital Sensor Faults
Unlike a physical leak, a controller or sensor fault means your system runs but makes wrong decisions.
Your controller checks the pool and roof temperature to activate solar heating. If a sensor sends wrong info, the system may stay off on sunny days, run at the wrong time, or show a fault.
Warning signs include a blank screen, flashing sensor light, or error codes like 66, 77, 88, or 99. These usually mean a disconnected sensor, shorted cable, reversed polarity, or damaged sensor.
Quick checks you can do safely:
- Note any error codes, flashing lights, or fault messages for your technician.
- Set the controller to “Auto,” not “Off” or “Manual.”
- From the ground, check for chewed, loose, rusty, or hanging wires near the equipment area.
Don’t open the controller, touch wiring, or climb to the roof sensor. If the fault returns, book a solar pool heating technician.
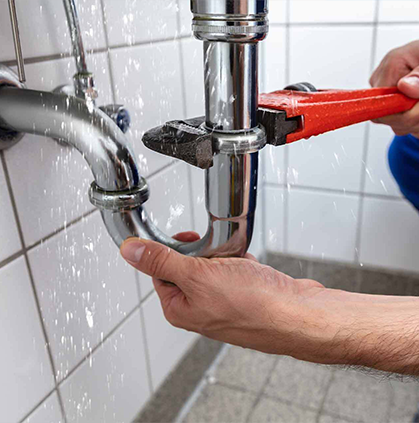
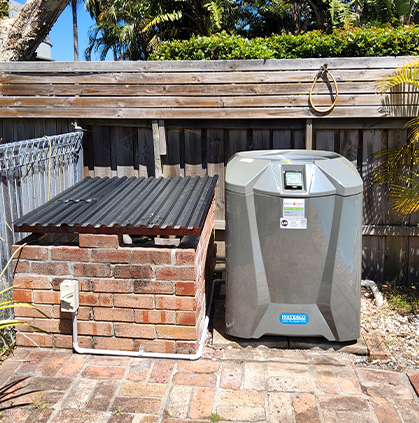
3. Pump Issues
Your solar pool heater needs steady water flow. The pump pulls water from the pool, pushes it through roof micro-tubing, and returns it warm.
If your pump is weak, blocked, undersized, or pulling air, the controller may say “Active” while too little water reaches the roof collectors.
You may have a pump or flow issue if your return jets feel weak, the system gurgles on heating, bubbles persist in the pool, the pump rattles or hums, or filter pressure is unusually high or low
Start with the simple steps first:
- Keep the water level halfway up the skimmer opening.
- Clean or backwash the filter if flow is weak.
- Check through the clear pump lid for air inside the basket chamber.
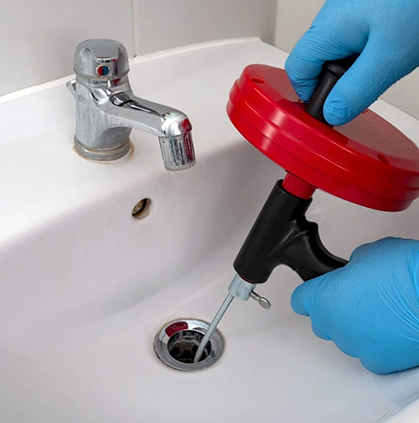
4. Airlocks in the System
An airlock can stop your solar pool heater from working, even if the pump and controller look fine. It happens when air gets stuck in the solar lines or roof panels.
A quick burst of bubbles when it first turns on is normal, but if you see constant bubbles, weak water flow, sputtering jets, hear gurgling from the roof, or your pump basket won’t stay full, you have a flow problem.
Airlocks are often caused by low water level, blocked skimmer or pump baskets, dirty filters, suction leaks, weak pump flow, or a vacuum relief valve drawing in air.
What you can check:
- Find the air relief valve
- Check whether bubbles stop after the system has been running for a few minutes.
- Listen for gurgling from the roof, which suggests trapped air.
If you keep getting airlocks, you probably have a slow leak or a bad check valve that needs a professional fix.
5. Dirty or Blocked Filters
Before you call for help, check your filter. A dirty or blocked filter is a simple, cheap reason solar pool heating stops working properly.
Solar heating needs strong circulation, and a clogged filter slows flow before water reaches the roof collectors.
In Sydney, dust, pollen, leaves, storms, and heavy pool use can quickly load the filter during warmer months. This may cause a louder pump, weaker return jets, and a higher pressure gauge reading than normal.
The controller can still turn solar on, but the collectors may not get enough steady water flow to transfer heat properly.
What you can check yourself:
- Compare the pressure gauge to your clean-filter reading.
- Check if return jet flow improves after cleaning.
6. Faulty Diverter Valve
A broken diverter valve can make your solar pool heater look like it’s working while sending water the wrong way.
Even if your pump and controller are on, a bad valve stops enough water from reaching your roof panels. This valve directs water through your solar panels or bypasses them.
If the valve handle sticks, the actuator clicks or hums, or the pool heats unevenly, the solar system might not be turning on.
What you can safely check yourself:
- Check that the actuator toggle is in the right position.
- Make sure the return water feels warm after the system runs.
- Look for cracked covers, broken handles, or leaking joints.
7. Storm, Hail, or Weather Damage
Storm damage can cause your solar pool heating to suddenly stop working. Since roof-mounted collectors are exposed year-round, heavy rain, wind, and debris can damage the pipework, sensors, valves, or fittings.
This matters because storms arrive quickly with damaging winds, rain, hail, and flooding. Even if your roof looks fine, hail can split solar tubing, loosen pipe clips, crack fittings, or damage the sensor cable.
What to check from the ground:
- Monitor gutters for water flow while the system runs.
- Note any new error codes.
Solar Pool Heating Running But Pool Still Cold?
If your solar pool heater isn’t warming the water, it may be due to these six performance limits:
- Collector area too small — Collectors should cover 80–100% of your pool’s surface. Smaller systems only slow overnight heat loss rather than actively warming the water.
- Poor roof exposure — Shade, incorrect orientation, or poor tilt can reduce heat by 30–50%. In Sydney, you need a north-facing roof with clear sun for effective heating.
- Aging collectors — After 8–12 years, UV damage, chemicals, and mineral buildup can reduce system performance by 20–30%.
- No pool cover — Without a thermal cover, you lose 4–8°C overnight via evaporation. Your heater then spends the day catching up rather than increasing the heat to reach the ideal pool temperature.
- Incorrect controller settings — Make sure your differential is set to 5–8°C between the roof and pool. If the pump runs too briefly or is stuck in winter mode, it won’t generate sufficient heat.
- Seasonal limits — During spring, autumn, or cool, cloudy days, wind and lower sun intensity mean collectors often cannot overcome natural heat loss.
Image: ebay
DIY Repairs vs. When to Call a Professional
Knowing where the DIY line sits can save you time, money, and safety headaches.
| Task | DIY Safe? | Notes |
|---|---|---|
| Clean the pump basket and filter | ✅ | First check for any performance drop |
| Bleed airlocks via air relief valve | ✅ | Keep pump running while bleeding |
| Check and adjust diverter valve position | ✅ | Manual position only — don’t touch actuator wiring |
| Small absorber tube repair (barb + PVC glue) | ✅ | Only for isolated pinhole leaks in tubes |
| Remove debris from roof panel surfaces | ✅ | Ground-level inspection only — no roof access |
| Sensor and controller replacement | ❌ | Professional job — requires correct wiring and calibration |
| Pool pump electrical faults | ❌ | Licensed electrician required in NSW — no exceptions |
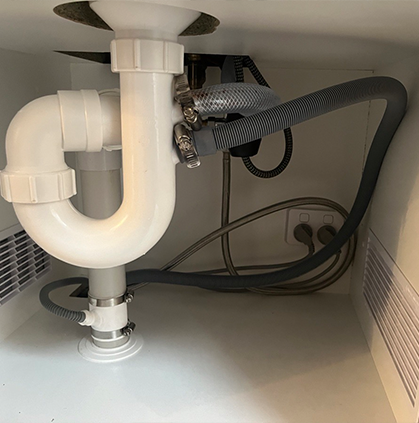
| Manifold replacement or repiping | ❌ | Requires system isolation and licensed plumbing work |
| Roof panel replacement or large leak repair | ❌ | Roof access, system pressure testing, professional assessment |
| System pressure test | ❌ | Specialist equipment required |
While you can handle basic cleaning and visual checks, leave tasks like roof access, repiping, controller replacements, and pressure testing to the experts. DIY errors can turn a $350–$650 repair into a $1,500+ overhaul.
And if you need help with wiring, roof access, pressure testing, or repiping or pool heating installation, contact Lightning Bult.
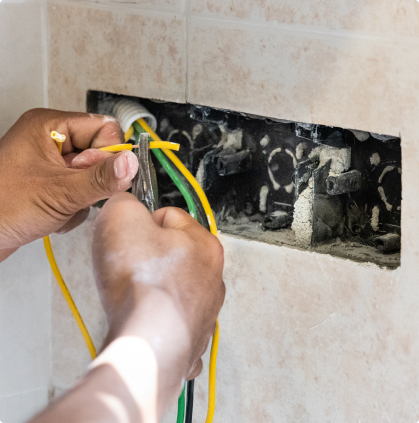
How to Repair a Solar Pool Heating Absorber Leak (Step by Step)
You can often fix small leaks in accessible solar tubes using a repair kit. Note: This only works for tiny holes or tears in flexible tubes, not for cracked PVC, broken connections, or roof-level damage.
- Find the leak. Keep your solar pump running to make leaks easier to spot. Look for spraying, dripping, or wet spots on matting, gutters, or pipes. Use binoculars for high-mounted panels.
- Turn off the system. Switch off your solar controller and pump. If your equipment pad has manual shut-off valves, close them to stop the water from draining while you work.
- Isolate the damage. Use a Stanley knife to cut the webbing on both sides of the damaged tube to separate it from the solar mat. Be careful: if the blade slips, you might poke holes in nearby tubes.
- Prepare for the repair. If using a repair kit, make a clean, straight cut at the leak. Avoid household glues, silicone, or duct tape, as pool chemicals and pressure will quickly destroy them.
- Insert the repair fittings. For standard strip systems, seal both open tube ends with matching plastic repair plugs. If using joining barbs with a locking sleeve, insert the barbs into the tube ends along with a replacement piece to bridge the gap.
- Secure the join. Push the tube ends or plugs firmly over the barbs until they fit tightly. If your kit includes compression sleeves or locking rings, slide them into place following the instructions.
- Test the system. Open your shut-off valves and set the solar controller to “Manual” or “On” to start the pump. Monitor the repair as pressure builds. If it leaks or slips, shut down the system and contact a solar pool heating technician.
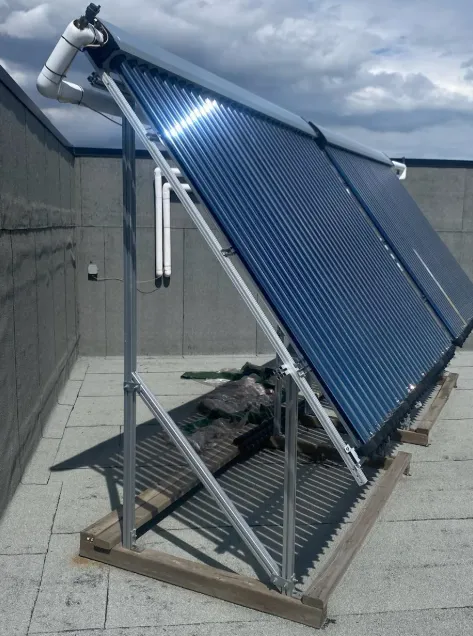
Image: zdavesf on Reddit
Solar Pool Heating Repair Cost in Sydney
Here are typical repair costs for Sydney in 2026:
| Repair Type | Estimated Cost | Notes |
|---|---|---|
| DIY absorber leak repair kit | $30–$80 | Parts only. Suitable for small accessible tube leaks, not manifold or roof-access repairs. |
| Professional panel or minor manifold repair | $150–$400 | Depends on leak location, damage extent, and whether the roof is easy to access. |
| Controller or sensor replacement | $200–$500 installed | Sensor parts are often under $100, but diagnosis and labour affect the final price. |
| Pump repair or lower-end replacement | $300–$700 | Simple pump repairs may sit in this range; full pump replacement can cost more depending on model. |
| Full system inspection and service | $150–$250 | Usually covers testing, flow checks, leak checks, controller review, and basic system diagnosis. |
Expect to pay more if your roof is steep, fragile, or hard to reach, as these jobs need extra safety measures. And don’t just choose the cheapest repair. Quick patches often miss bigger problems like pressure issues.
Also, always get a formal quote before you approve any work on your roof, wiring, or system diagnostics. This applies to other pool heating options as well.
Should You Repair or Replace Your Solar Pool Heating System?
If your system stops heating, check for minor repairs before you assume it’s time for a replacement.
Repair makes sense when:
- The system is under 10–12 years old.
- Damage is limited to one part, like a leaking tube, sensor, or valve.
- The system worked well before the fault.
- Collector matting is flexible, secure, and not UV-damaged.
- The pump, controller, valves, and manifolds are in good condition.
Replacement makes sense when:
- The system is 15+ years old with widespread wear.
- Multiple leaks exist across panels or absorber sections.
- Collector matting is brittle, cracked, sagging, or UV-damaged.
- Major parts like collectors, manifold, controller, and valves are failing together.
- Repair costs are reaching 50% or more of a new system.
Rule of thumb: Fix specific, recent, and small problems; replace the unit if the issues are widespread or keep happening.
If you aren’t sure, ask your technician: “Is this a one-time fix, or will I keep having problems that affect the cost of solar pool heating?”
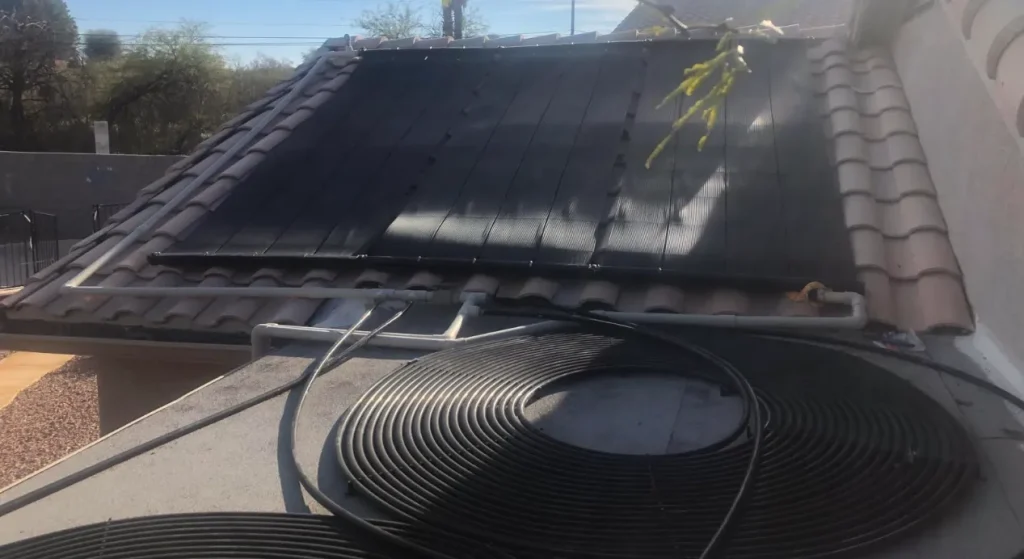
Image: Amazon.com
FAQs About Solar Pool Heating Repairs
Here are some questions pool owners often ask about solar heating repairs.
Why is my solar pool heating not warming the pool?
Common causes include a stuck diverter valve, solar airlock, dirty filter, or sensor fault. Check valve positions, clean the filter, and check the controller for error codes. If the pool stays cold, check the roof pipes.
How do I know if my solar pool heating is leaking?
Watch for fast water loss, stains, drips, or damp wood. Check from the ground, if you can’t find the source, hire a professional. Finding this early is key, as chlorinated water causes severe, long-term damage to roof timbers.
Can I repair a solar pool heating leak myself?
For small absorber leaks, use a DIY kit with barbs and PVC glue. Call a professional for manifold cracks, header failures, or degraded rubber. Avoid rooftop repairs on steep, wet, or fragile surfaces. The fall risk isn’t worth it.
How often should a solar pool heating system be serviced?
Schedule your service before summer. Inspections must include connections, collectors, the controller, sensors, and pump performance. Fixing small problems now stops a $150 service from turning into a $700 repair.
How long does a solar pool heating repair take?
Most professional repairs take one to two hours, but complex jobs like manifold replacements or roof work may need half a day. Good services should give a clear price and time estimate before starting.
Conclusion
Most solar pool heating problems come from a few common issues, each with a straightforward fix.
While these steps fix the problems most pool owners face, a professional inspection is the safest way to protect your system and stop small issues from turning into expensive repairs.
Not sure what’s wrong? Lightning Bult‘s solar pool heating team serves all of Sydney. Whether you need a quick panel repair or a full system performance check, we can help. Contact us for a free, no-obligation quote!