


Maybe a neighbour tells you, “I’ve got the black rubber style on the roof, up for 14 years, no dramas.” And that’s when you start thinking about solar pool heating installation for your backyard.
But where do you start? This guide explains the whole process, including system sizing, DIY vs. professional installation, and what to expect from solar pool heating Sydney homeowners can rely on.
How Solar Pool Heating Works (Before You Install)
A dedicated pump pushes water through roof-mounted collectors, where it absorbs heat and returns to your pool warmer.
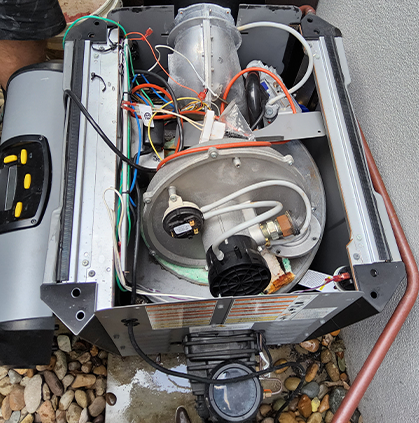
The system needs five main components:
- Roof-mounted solar collectors (strip matting or rigid panels)
- Flow and return pipes connecting the roof to pool equipment
- A diverter valve or dedicated pump
- A solar controller to manage heating cycles
- Two temperature sensors (pool and collector)
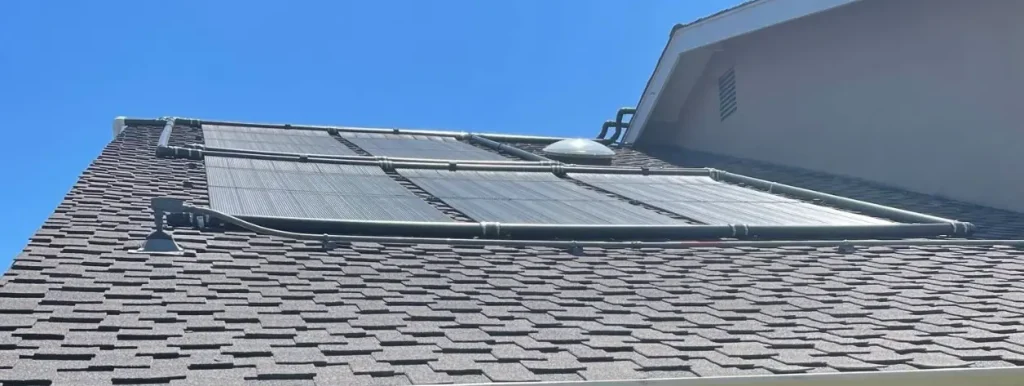
Image: Amazon.com
The controller checks pool and collector temperatures. It only activates when the roof is warm enough, about 8°C hotter than the pool.
Water then cycles to the roof and back until reaching your set temperature, then stops and resumes normal filtering.
Unlike solar PV, solar pool heating heats water directly from the sun, avoiding conversion costs.
In most Sydney homes, it piggybacks on your existing pump. No second pump is needed. This keeps the whole setup simpler and the installation cleaner.
A correctly sized system can heat your pool by 6–10°C in spring and autumn. And that means you can swim for many more months.
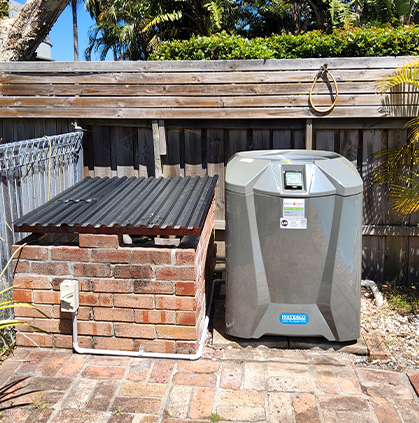
Strip Solar vs Rigid Panel: Which Should You Install?
Two options for very different roofs: strip matting and rigid panels.
Strip solar matting uses flexible rubber or polymer tubes rolled across the roof, fixed with adhesive and clips. It costs less upfront, sits low against the roofline, and suits most sheltered Sydney homes with standard pools. You can expect a 10–15 year lifespan.
Rigid solar panels use semi-rigid polypropylene panels fixed with roof brackets, not glue. They cost more, but they are tougher on steep pitches, coastal roofs, exposed sites, and larger pools. Lifespan sits around 15–20+ years.
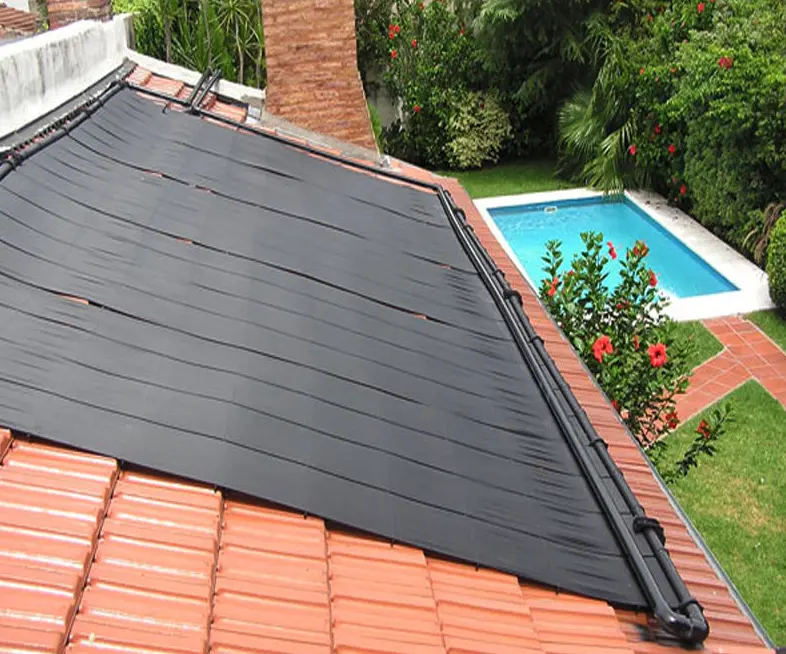
Image: Alibaba.com
Now the detail most general guides skip: cockatoos. Strip matting isn’t cockatoo-resistant. In the Northern Beaches, or anywhere gum trees hang over streets, birds pick at exposed rubber tubing until it leaks.
Rigid panels handle this better. Polypropylene is too hard and solid for them to be interested in.
Another thing to consider is wind. If you’re putting a rigid system on a coastal rooftop in the Eastern Suburbs, you’ll need wind-rated brackets.
Standard sheltered suburban installs don’t need that, and this changes how much solar pool heating costs and system choice.
| Strip Solar Matting | Rigid Solar Panels | |
|---|---|---|
| Cost | Lower upfront | Higher upfront |
| Appearance | Low profile, follows the roofline | Clean modular panel look |
| Durability | Good, but vulnerable to bird damage | Excellent, with stronger hail and cockatoo resistance |
| Best For | Sheltered suburban Sydney roofs | Coastal, exposed, steep, or large-pool installs |
| Lifespan | 10–15 years | 15–20+ years |
How to Size a Solar Pool Heating System
The basic rule is that your solar collector should cover 50–80% of your pool’s surface area if you use a pool cover. If you don’t, you should push it closer to 80–100%.
Choose an undersized system and it never catches up. Choose an oversized system and you pay for the collector area your pool doesn’t need.
Say you have an 8 x 4 m pool. That’s 32 m² of surface area. With a pool cover, you would usually need around 16–26 m² of solar collectors. Without a cover, that jumps to roughly 25–32 m² or more.

Image: aalo lens on Unsplash
And what are the factors that push toward the higher end of the range?
- No pool cover
- Coastal or exposed location
- Wind across the pool surface
- Winter swimming expectations
- Target water temperature above 28°C
- Shaded roof sections or limited north-facing roof space
Other conditions pull the system back toward the lower end:
- Consistent pool cover use
- Sheltered backyard
- Good north or west-facing roof space
Most sizing guides overlook two critical factors.
First, avoid over-sizing strip matting. On north-facing Sydney roofs in summer, too much collector area leads to stagnation. When the pump shuts off, the water gets too hot, which damages the matting faster than normal.
Second, your roof space determines system size more than any formula. A good installer will find the ideal collector area, then check it against what your roof can fit. These numbers rarely match.
The Solar Pool Heating Installation Process
Here’s what a professional solar pool heating installation looks like from start to finish:
Step 1: Site Assessment and System Design
Before you commit to anything, an installer will check your roof’s pitch, space, shade, and condition. A north-facing roof is best. East-west roofs work too, but may need a different system size.
After that, the installer checks your pool pump and plumbing. These need to handle the extra pressure of pushing water up to your roof.
This is easy on a single-storey home, but a long run on a two-storey house can overwhelm an undersized pump.
You should ask about that early. A pump upgrade isn’t always included in a solar pool heating installation, so it will change your quote.
Finally, the installer calculates the collector area, chooses between strip matting or rigid panels, and gives you a written quote. No worries. Most Sydney solar pool heating assessments are free.
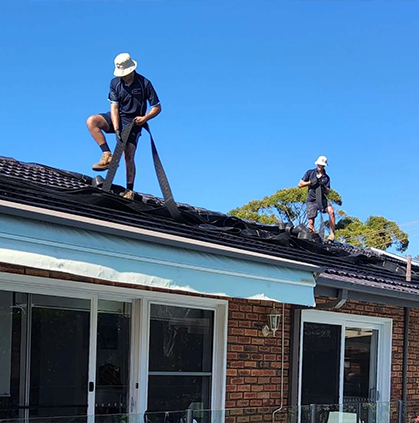
Step 2: Collector Mounting on the Roof
Installation starts on the roof. On tiled roofs, the installer lifts the selected tiles and fixes brackets to the battens underneath. Then, they reset the tiles.
But, colorbond and other metal roofs are different. They use saddle clamps or purpose-made brackets fixed to the roofing sheets. Removing tiles isn’t part of the job.
Strip collectors are then rolled out and secured to the mounting hardware. Rigid panels are also lifted into place and bolted onto bracket rails.
At the highest point of the collector array, the installer fits a vacuum-relief valve. It lets the system drain back when the pump turns off, reducing water hammer and helping protect the collectors during Sydney’s cold snaps.
Will these steps apply to older homes? Yes, but for older homes, extra care is needed. Terracotta tiles, common in the Inner West and North Shore, can crack during bracket installation.
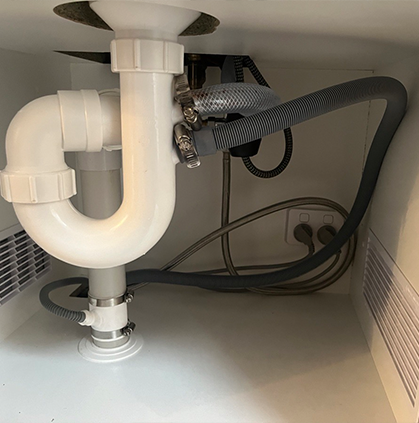
Step 3: Roof-to-Equipment Plumbing
Two pipes connect your roof collectors to your pool equipment: a flow pipe and a return pipe.
Your installer will run these down the exterior wall, keeping the path short and tidy, and clip them away from damage-prone areas.
After that, they connect them to your pool plumbing near the filter and pump, then install a diverter valve.
When you’re heating the pool, this valve sends water up to the collectors. In normal filtration mode, it skips the roof and keeps water moving through your standard pool circuit.
A check valve stops water from flowing backward through the filter. Your installer will test every connection for leaks.
And remember, you must hire a licensed plumber for roof penetrations and plumbing changes, as required by the NSW Plumbing and Drainage Act 2011. Plus, work from October 2025 must meet the AS/NZS 3500:2025 standard.
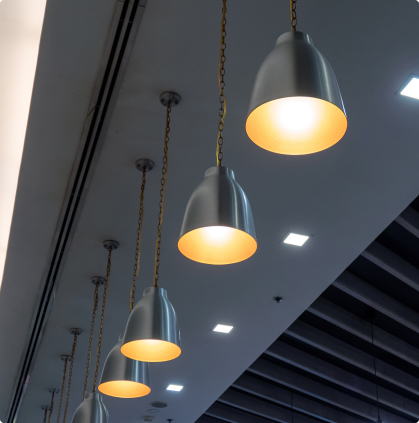
Step 4: Solar Controller and Sensor Installation
The solar controller is mounted near the pool equipment pad. It gets data from two sensors: one on your roof for the collector temperature and one for your pool water.
When the roof gets warm enough, the controller opens a valve to send water up to the collectors.
Most systems start heating once the roof is 3.3°C warmer than your pool, though you can adjust that setting. Once your pool hits your target temperature, the valve closes and your system goes back to regular filtering.
Most mid-tier controllers now have Wi-Fi. This lets you change your ideal pool temperature, mode, and timer settings from an app, so you don’t have to walk out to the equipment pad.
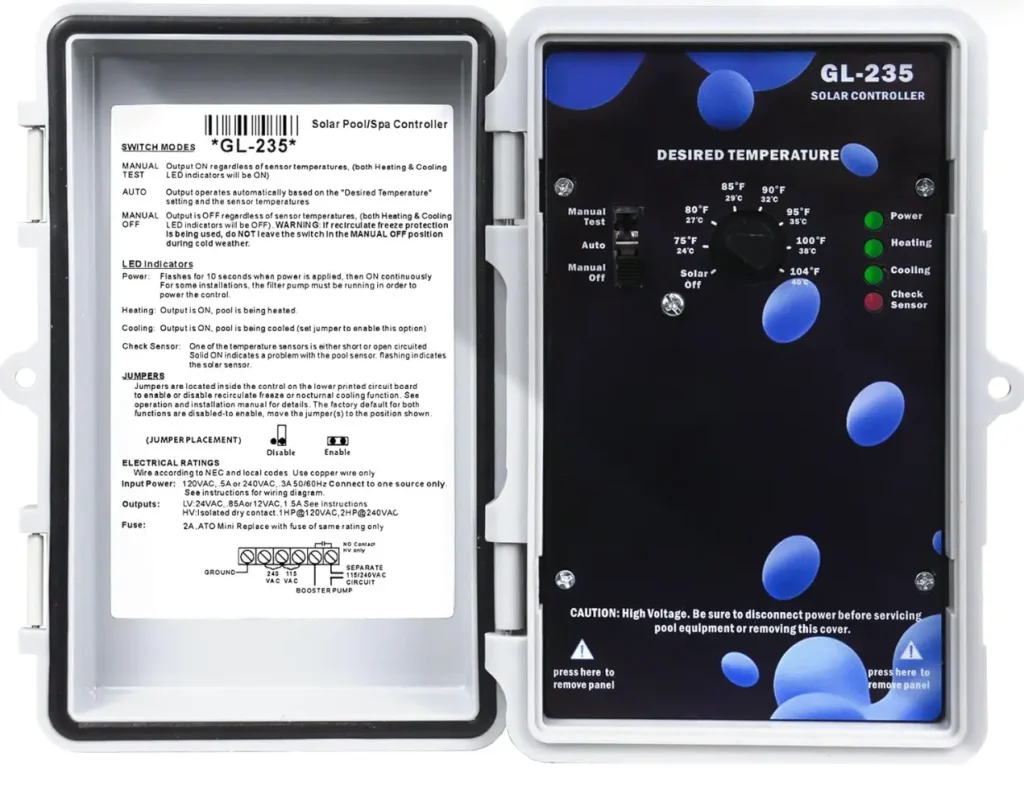
Image: Amazon.com
Step 5: System Testing and Commissioning
Once everything is connected, the installer runs the pump and tests the full system. They check every fitting, roof connection, valve, pipe join, and penetration for leaks.
The controller is programmed. The target temperature is set. Then they walk you through normal operation, manual override, app controls if included, and what to watch for over the first few days.
On a clear sunny day, heating should be measurable within the first hour. By the afternoon, a working system may lift pool temperature by 1–2°C, depending on collector size, and pool volume.
You should also see the controller activating the diverter during peak sun hours to check whether your solar pool heating is not working as it should.
DIY Solar Pool Heating Installation: Is It Worth It?
DIY solar pool heating kits exist. For a small ground-mounted system beside a simple pool, some homeowners can make them work.
But roof-mounted solar pool heating is a different story. That job combines water lines, roof access, plumbing changes, and controller setup into one system. The risk climbs fast.
And please note, in NSW, the Plumbing and Drainage Act 2011 says only a licensed plumber can do roof penetrations and pool plumbing connections.
Your installer handles the compliant work and certification, while you’re responsible for the pool cover.
But the legal line is just the start. A DIY roof-mounted install can lead to three expensive outcomes:
- Manufacturer warranty issues if an unlicensed person connects the pipework
- Home insurance problems if damage comes from unlicensed plumbing work
- Full re-work costs if the system leaks, drains poorly, or damages the roof
That upfront DIY saving is around $500–$1,000. Sounds good until you think about losing your warranty, having insurance problems, fixing broken pipes, and paying a professional to do the job right anyway.
What to Expect After Your Solar Pool Heating Is Installed
When you compare pool heating options, you might expect solar heating to work like gas or a heat pump. Instant heat at the push of a button.
It doesn’t work that way. Solar heating is gradual. In spring and autumn, expect 1–2°C per sunny day. You’ll know it’s working when the controller shows the diverter valve activating during peak sun.
Yes, heat builds slowly, so seasonal settings matter. In summer, set your target to 26°C to avoid overheating. In spring and autumn, raise it to 28–30°C to get more from the sun.
And whatever the season, cover your pool every night. The cover traps that warmth at night. For most pool owners, this is the highest-ROI setup and the cheapest way to extend your swim season.
What about maintenance? You need it, but it’s minimal. You can do it once or twice a year. Clear debris from gutters near the collectors. Clean panels if dirt builds up. After severe hail, check collector connections for leaks.
FAQ About Solar Pool Heating Installation
Here are the most common questions asked by pool owners who are installing solar pool heating:
How long does solar pool heating installation take?
A standard residential installation takes 4–8 hours for a licensed team. Larger systems or complex roof access may take a full day. The pool is usually ready by evening or the next day.
Can solar pool heating be added to an existing pool?
Yes, most solar pool heating installations are retrofits on existing pools. If the pump works and the roof is good, adding solar heating is straightforward. The installer checks the pump during the site visit and might suggest an upgrade.
Do I need council approval to install solar pool heating in Sydney?
In most cases, no. These systems are exempt under the State Environmental Planning Policy (Transport and Infrastructure) 2021. Exceptions include heritage-listed homes or properties in heritage conservation areas.
How much roof space do I need for solar pool heating in Sydney?
The collector area should cover 50–80% of the pool surface. If you have limited roof space, rigid panels deliver more heat per square metre than strip matting, with a smaller footprint.
So, How to Install a Solar Pool Heating System?
It starts with a proper site assessment, and ends with system testing connecting solar collectors to your pump.
With this pool heating option, upfront costs are moderate, but running costs stay very low. You can extend your swimming season without high energy bills.
Thinking about solar pool heating? Lightning Bult‘s team handles the full process, from roof assessment to commissioning. Contact us now!